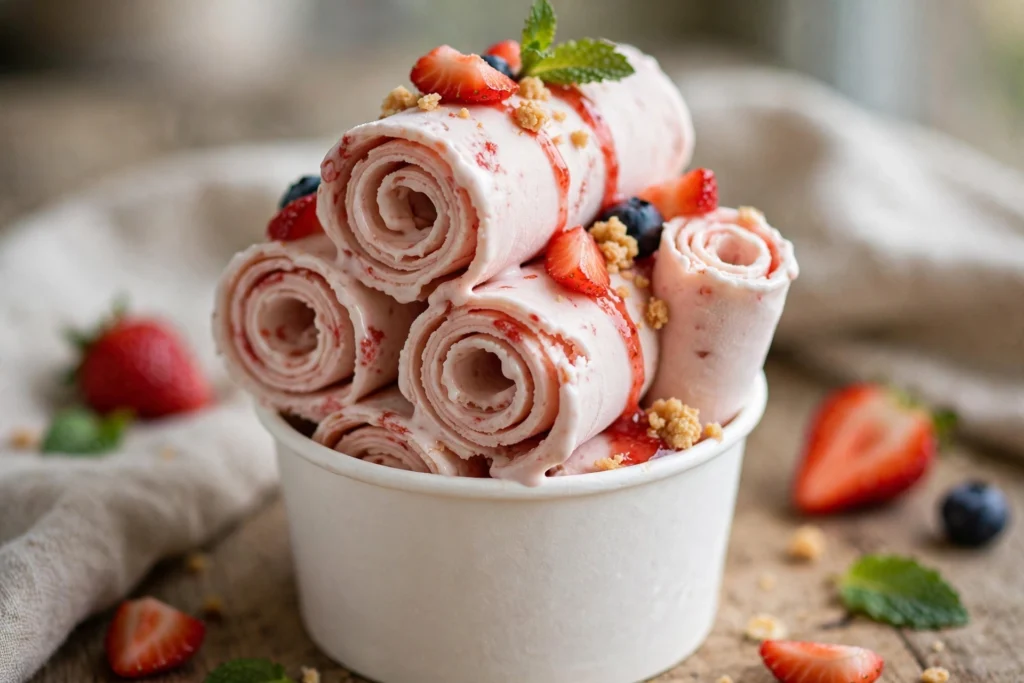
Make Dairy Free Rolled Ice Cream at Home
Making rolled ice cream dairy-free is incredibly easy, but there is one golden rule: you need fat. If...
Brazil vs Morocco: Easy World Cup Recipes
Here are easy, crowd-pleasing recipes inspired by Brazil and Morocco, perfect for watching a World Cup match between...

Qatar vs Switzerland: 2 Easy World Cup Recipes
Here are a few easy, crowd-pleasing recipes inspired by the cuisines of Qatar and Switzerland. This menu balances...

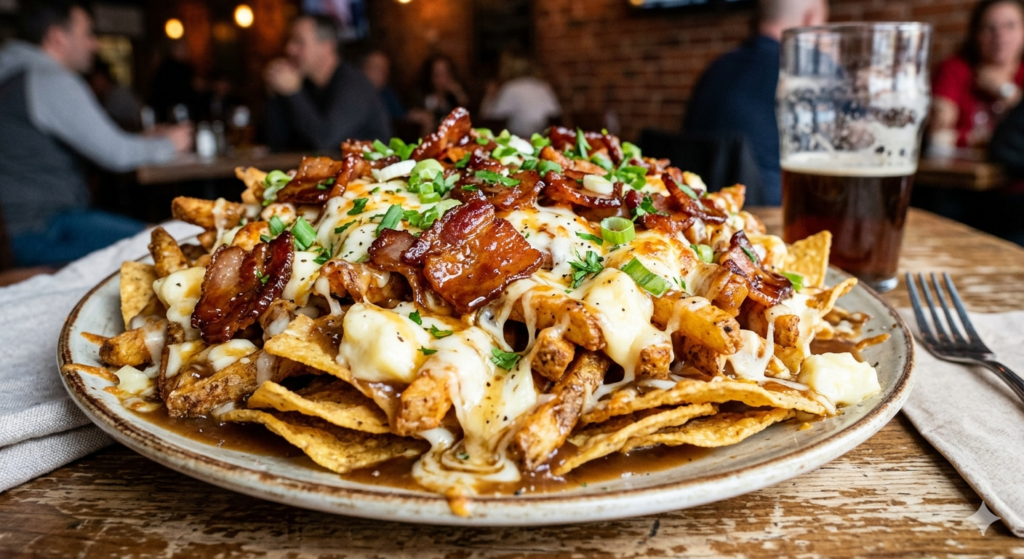
10 Minute World Cup Snacks Prep: 6 Elevated Recipes for Fans
The whistle blows. Your friends are on the way. The TV is tuned in. And you just realized...
Canada vs Bosnia Herzegovina: Easy Half Time World Cup Recipes
Let’s be honest: You may not have had a Bosnian snack, and you’ve definitely never had a Canadian...
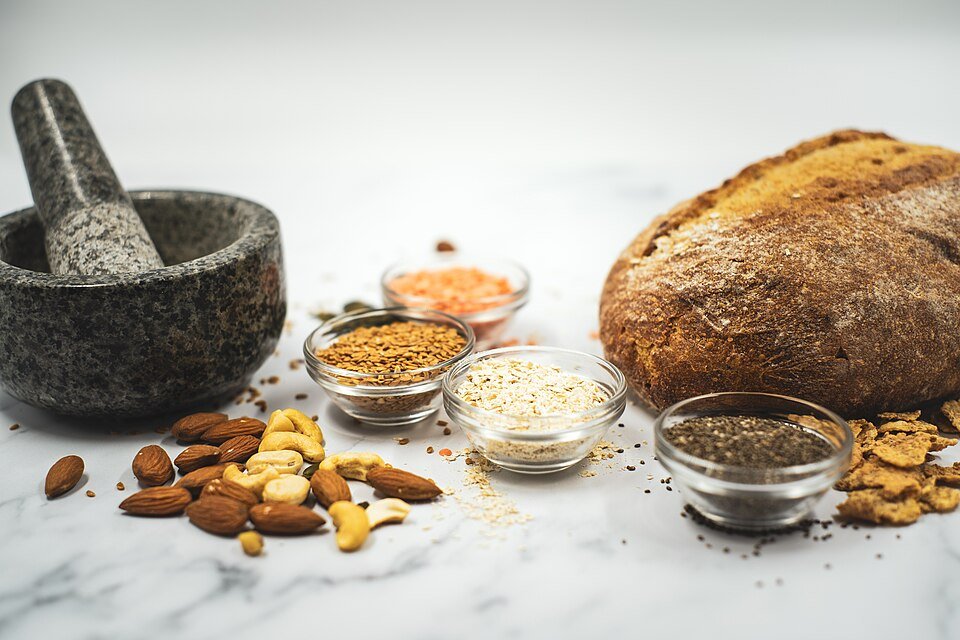
The Right Fibre for Better Bowel Movements
When it comes to digestive health, fibre is often hailed as the hero. But for many people, eating...

How to make crispy Vietnamese Banh Xeo at home
Banh Xeo, often described as Vietnamese sizzling pancakes, holds significant cultural importance within Vietnamese cuisine. With its roots...
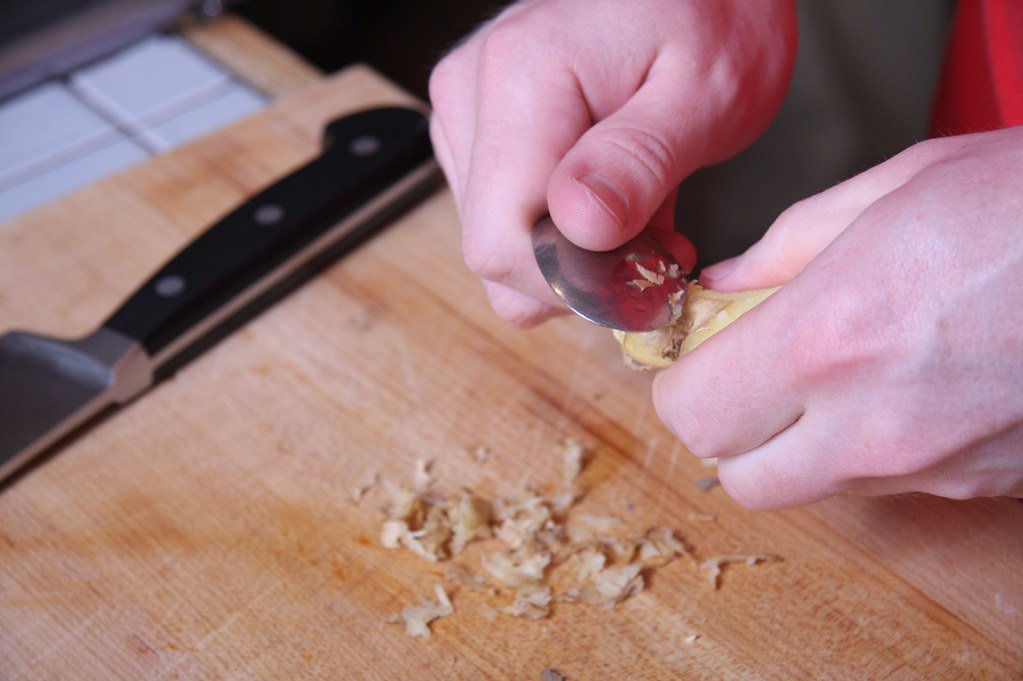
Ginger peeling tips you can use at home
Peeling ginger can be tricky because of its knobby, irregular shape. While a vegetable peeler or a knife...
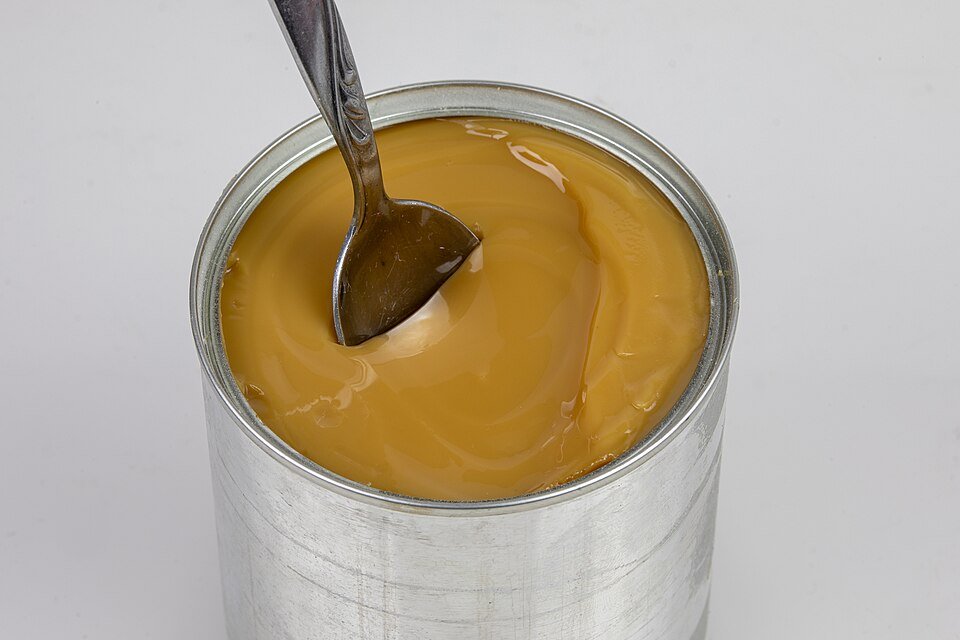
Is it worth making your own condensed milk for drinks?
That is the ultimate “weekend project” question! If you’ve ever run out of the canned stuff halfway through...
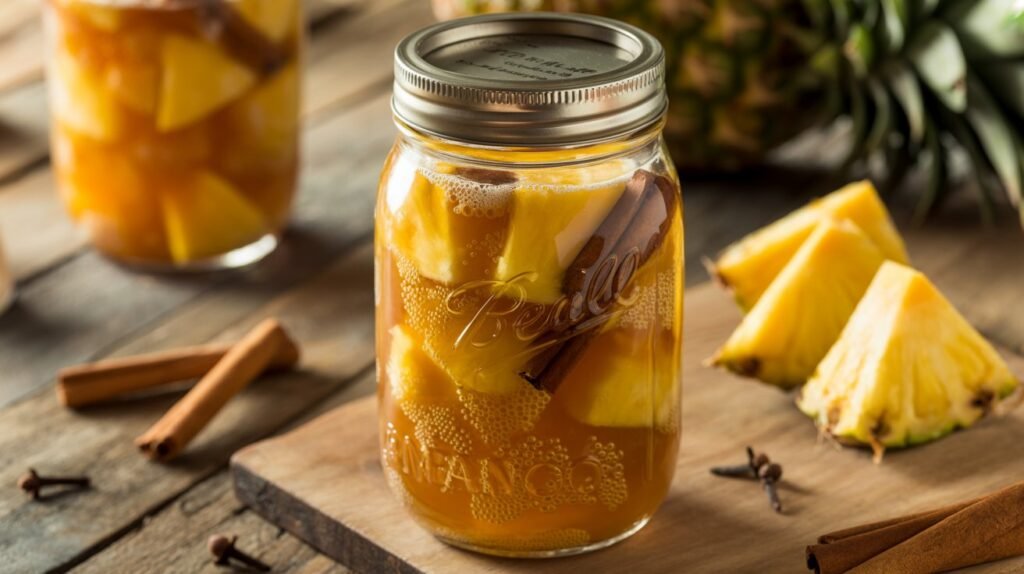
Easy Mexican Tepache you can brew in a mason jar
Tepache is a fermented Mexican beverage traditionally made from pineapple rinds, piloncillo (raw cane sugar), and spices. Using...
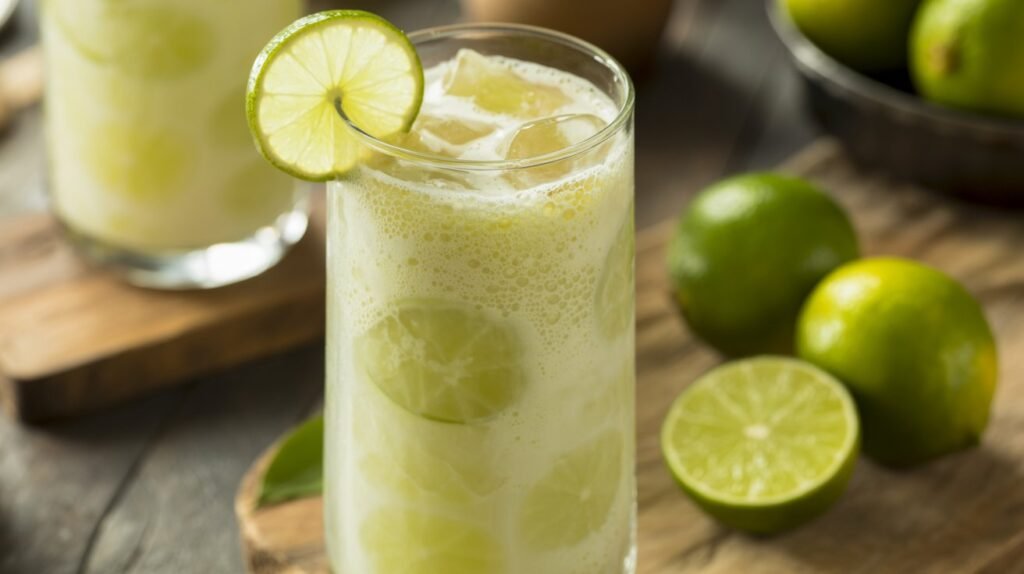
Make Creamy Brazilian Limeade for hot afternoon
Often called Limonada Suíça, this drink is actually made with limes, not lemons. The secret to its signature...
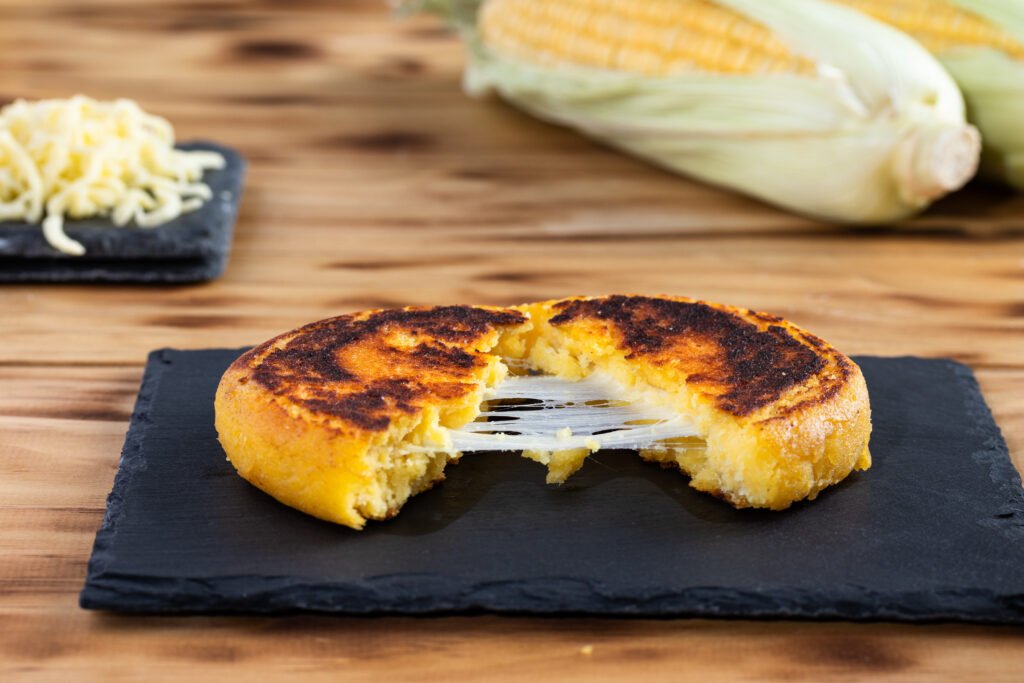
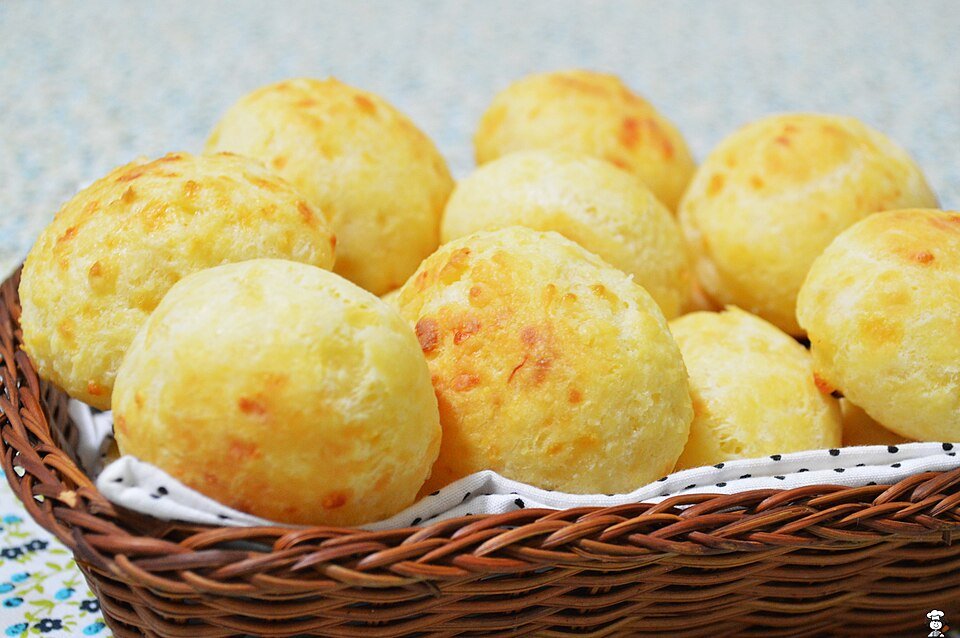
Easy Colombian Cheese Arepas for Quick Breakfast
Introduction to Arepas Arepas are a traditional staple in Colombian cuisine, made primarily from ground maize dough. These...